
(21/01/06)
Ahh yes, the Engine, the heart of the beast as they say.As you probably know already, I have opted for the 2.0 litre Vauxhall 16v Twin cam engine as it is fairly powerful from standard, I'm familiar with the engine and one came up cheap soooo, here we go.

 This is how it looked at the beginning just after picking it up just to refresh your memory. Note the large "Pot" flywheel, the huge inlet manifold & skinny exhaust manifold all of which are going.
I started off with a strip down and a good clean, it's amazing how dirty these engines get in a tin top so loads of gunk and water later, ended up with a reasonable engine.
Wire brushed it down with and electric drill and by hand which took ages. Left it at that for now.
(24/01/06)
Took a trip up to SBD today to pick up some nice goodies. Throttle bodies, MBE 967e ECU, idler pulleys, Alternator and Bellhousing amongst other bits and bobs.
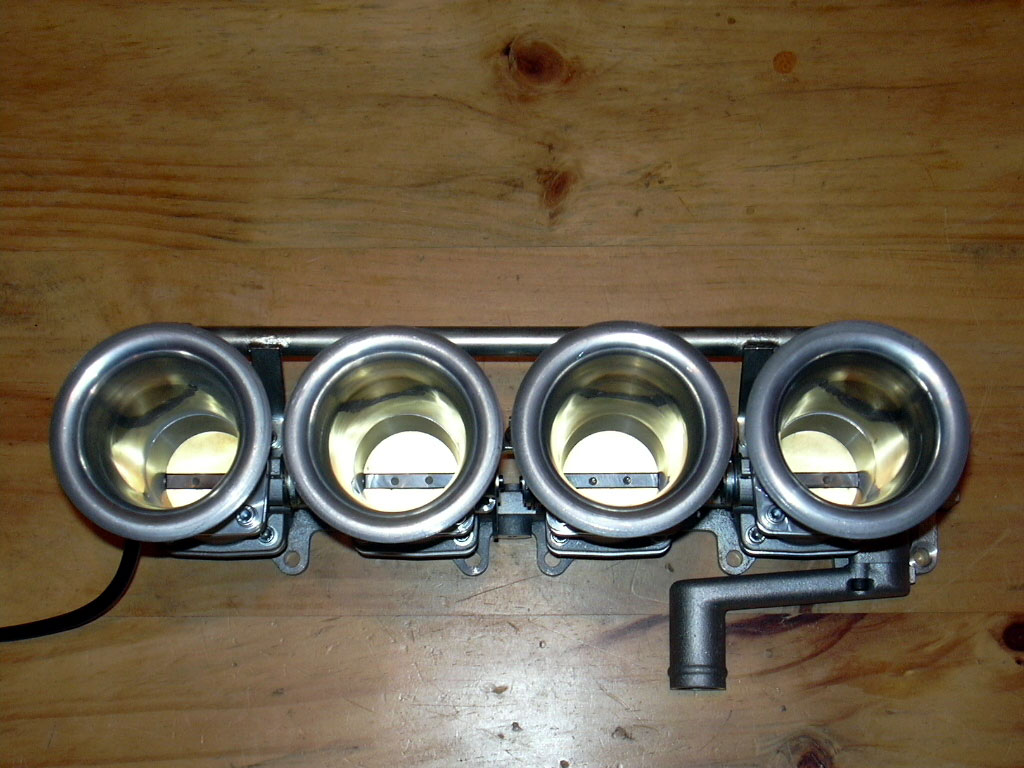
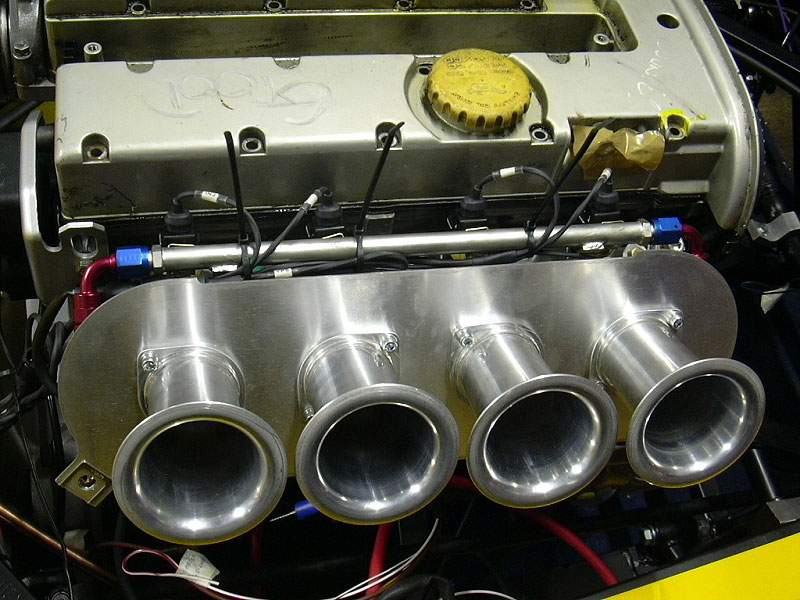
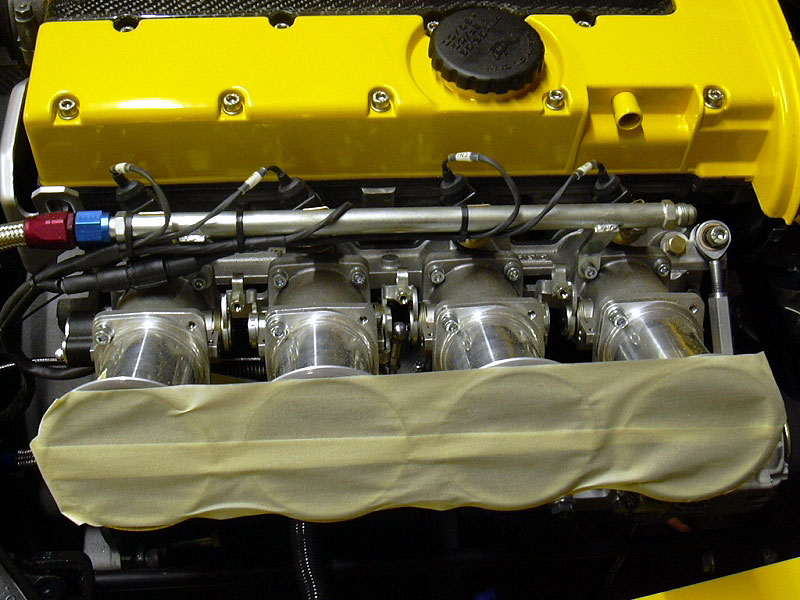
 A small part of what I got shown left, oooh Throttle bodies. These are Jenvey tapered jobbies with 45mm chokes. Note in pic 4 the throttle lever, this has to be cut down as it will foul the backplate on the Air filter so they have to come apart again - doh!
Played around with the MBE software for the rest of the day after fitting the Throttle pot sensor. This had to be soldered on and setup with a volt meter but I decided to hook it up to the Easimap software and set it up that way - easy or what!
(29/01/06)
Despite the freezing weather, I ventured outside again to paint the block and start to tidy it up a bit.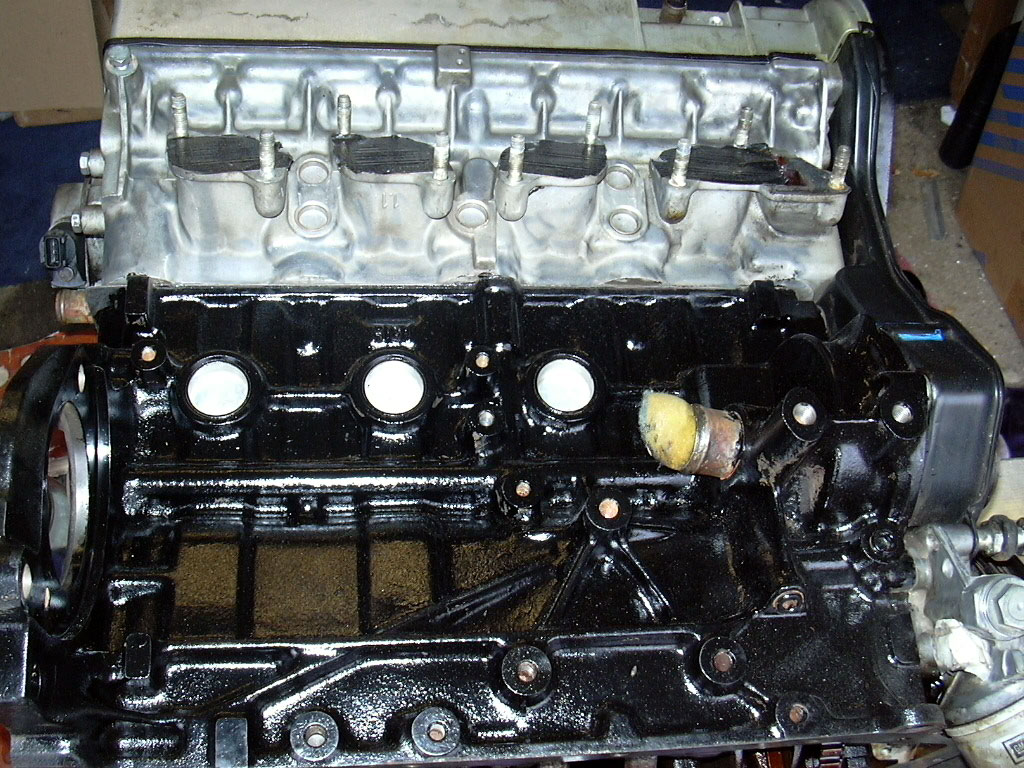 Noticed from this picture I've missed a few bits, but on the whole, it looks better than the picture - must be my duff camera?
Whilst wire brushing it all down, I plugged every hole and orifice not wanting any crap to end up inside.
(01/02/06)
Got some ARP rod bolts so decided to fit them today. Also replaced the rear crank seal at the same time. It didn't look like it was too bad but I'd rather do it now than wait until the engine is fitted to find out it's failing.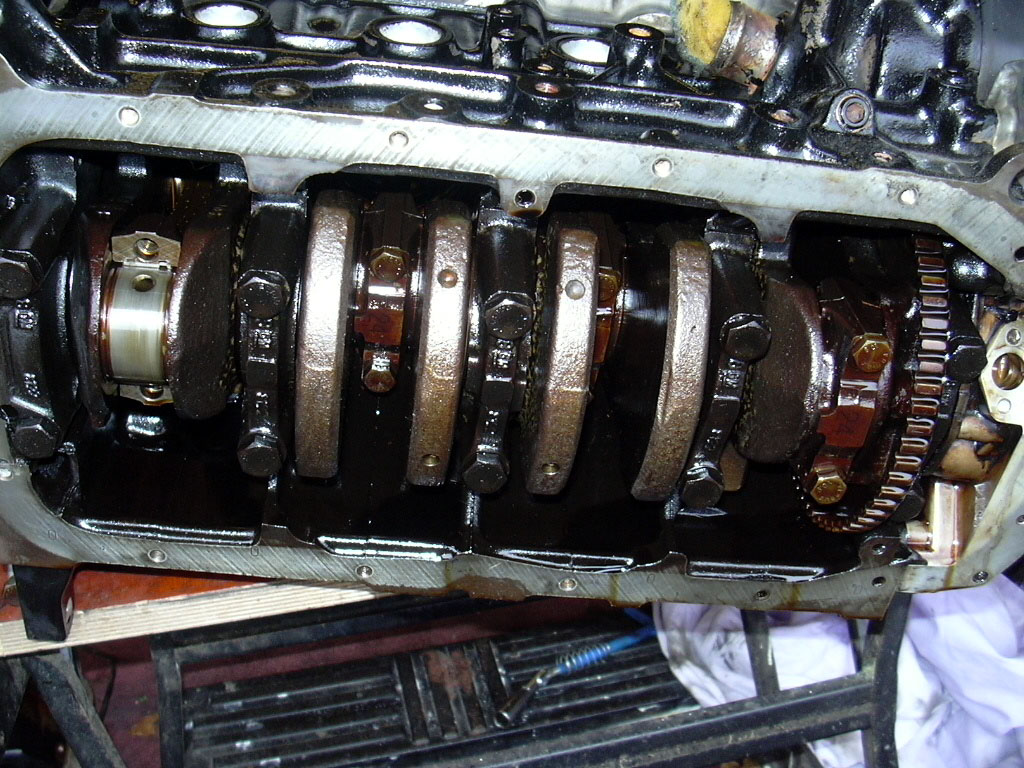
 First pic is the start, just checked out the bearings and they were great, next pic shows the ARP bolts fitted.
I then decided to fit the sump pan so I replaced the Oil pickup pipe "O" ring (Important) and fitted the gaskets all after cleaning out the bottom of the engine of course. With the Westfield sump, you do not get the pickup pipe support bracket so don't throw this away, you will need it.

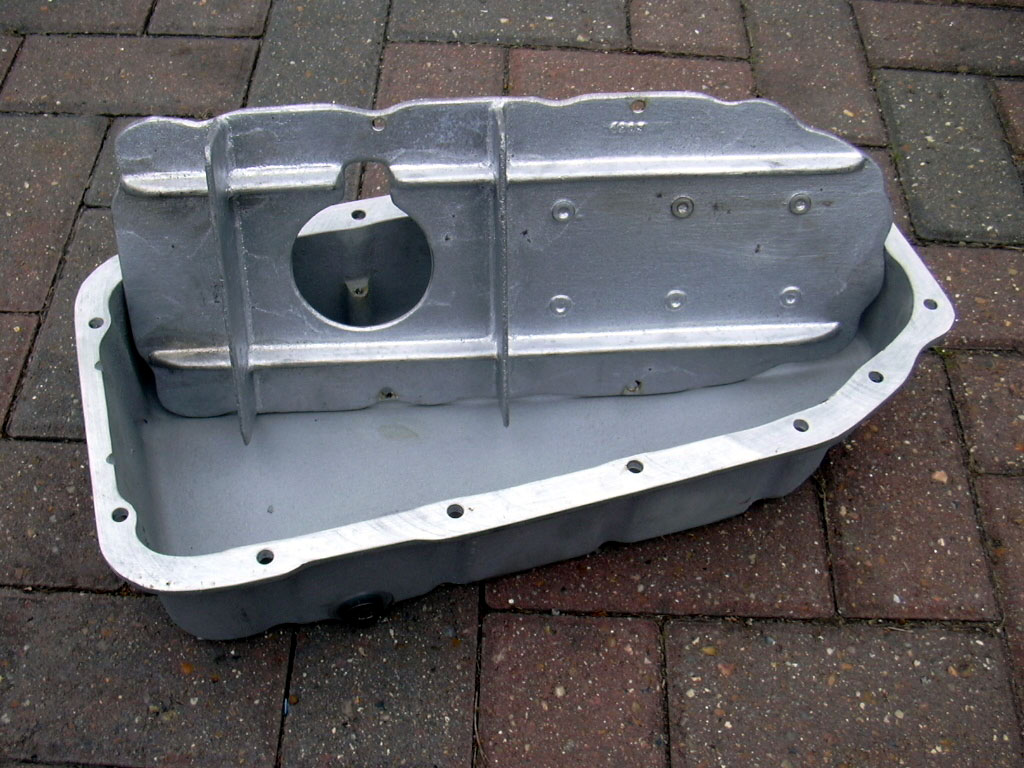
 The Westfield supplied sump shown left. I took this apart to ensure it was clean and had to re-fit the baffle, thread locking the bolts. This is actually 2kg heavier than the original alloy sump, probably due to the cast alloy baffle plate.
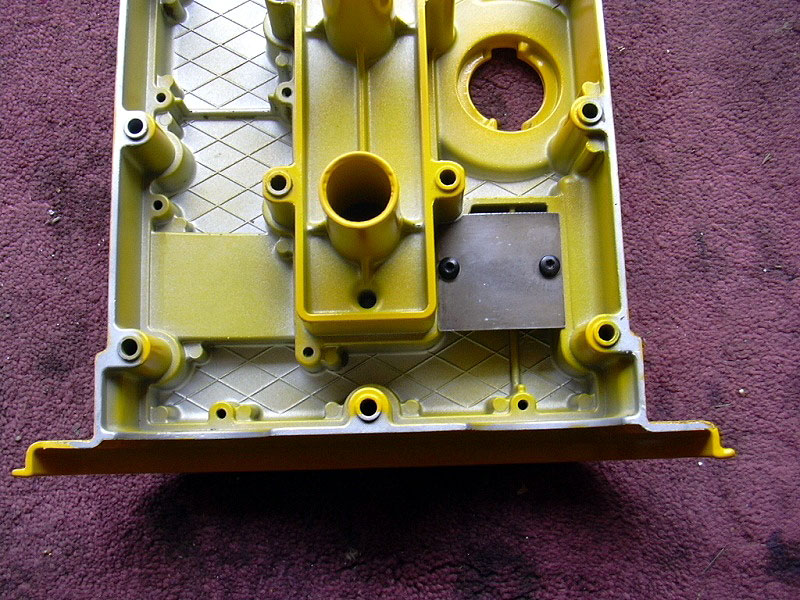
 After all that hard work, this is how it looks. Cam cover removed for the SBD mod to be done tomorrow along with another mod of my own, just wait and see what tomorrow.
(02/02/06)
Did the Cam mod as described on the SBD site removes all but a little bit of the inside of the baffle plate. When the engine is put in a rear wheel drive car, this mod stops excess oil pouring out of the breather - See Here for mod.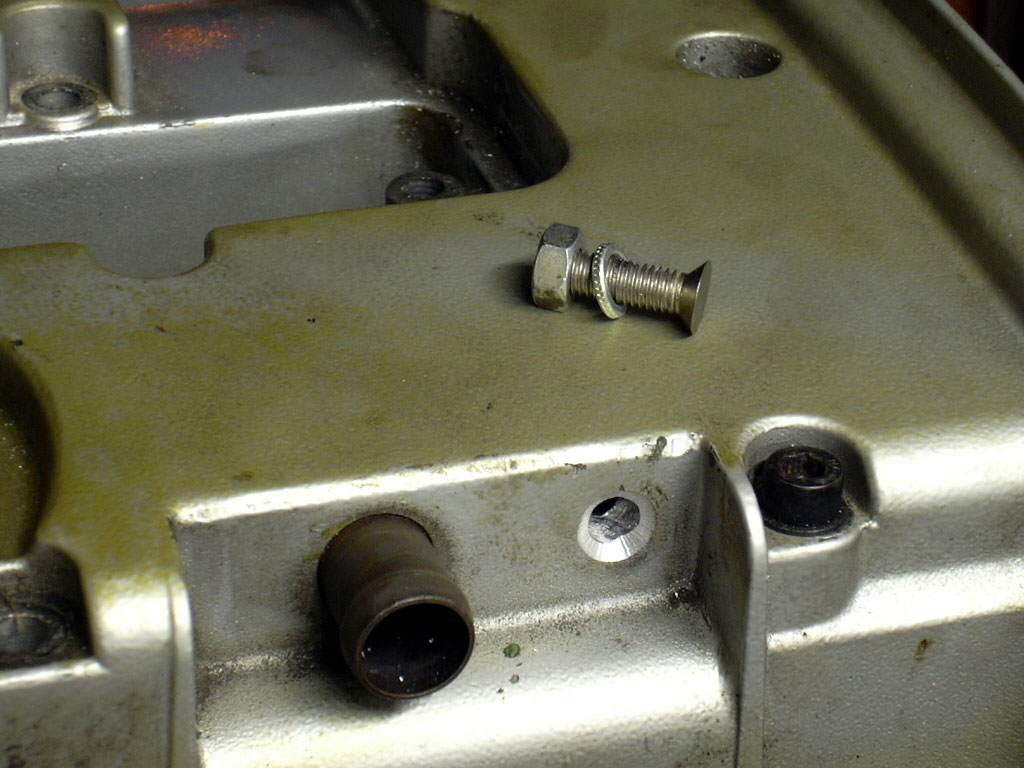
 The other mod I decided to do is rather than block up the small breather tube (not needed), I pulled it out, counter sunk the hole and replaced with a ground down countersunk bolt which has a thread locked nut behind. When the cover had been powder-coated, it should look a lot neater.
(08/02/06)
Whilst waiting for my Flywheel to turn up I decided to take the cam cover down to the powder coater to get it done in Yellow, should be back end of the week with any luck.Meanwhile, down at the back end of the engine was a cooling pipe that needed sorting. This is the feed (or is it a return) to the heater of which I don't need.
 First pic shows the pipe I'm referring to. On my last engine, I just put a short piece of hose over it and blocked it up with a suitable round bar and a Jubilee clip. This is a much nicer solution in 2nd pic.
Crush the pipe with some Mole Grips, twist and pull it out. Clean up the hole and fit a 20mm Core plug with some sealant like Hylomar and jobs a good'un.
(16/02/06)
Got my Cam cover back today and placed it on the engine just to see what it looked like.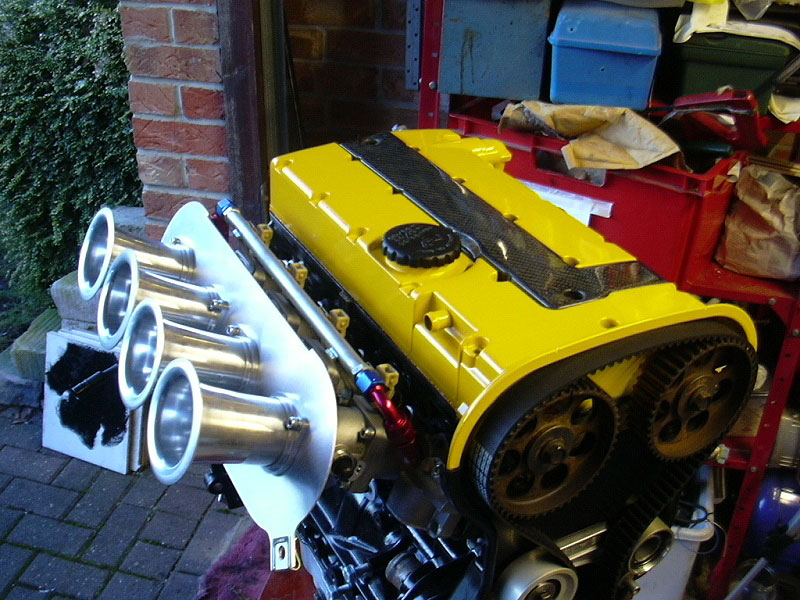
 Looks lovely with the Carbon fibre insert but on closer inspection, I noticed that whilst the colour was very good, the finish left a bit to be desired.
There was a lump of c&*p right in view on the right hand side, that's going back on Monday to be re-done. Mind you, at £40.00, it ain't a bad price.
(23/02/06)
I've been waiting for this moment for ages, it's engine in time.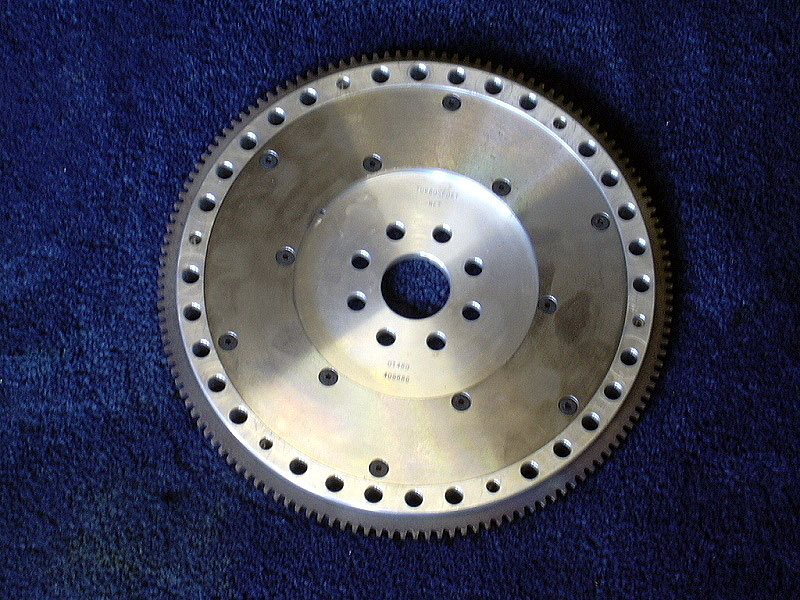
 Flywheel finally arrived which was the only thing holding me up putting the engine in. This is an alloy jobbie weighing in at 2.9kg ... light eh?
This was fitted with new flywheel bolts and new organic clutch plate and cover. I didn't tighten up the clutch cover bolts as I didn't have a clutch aligning tool so I left it loose to ease fitting onto the gearbox. This can be done up in situ as there is a big gap at the bottom of the bellhousing thank goodness.
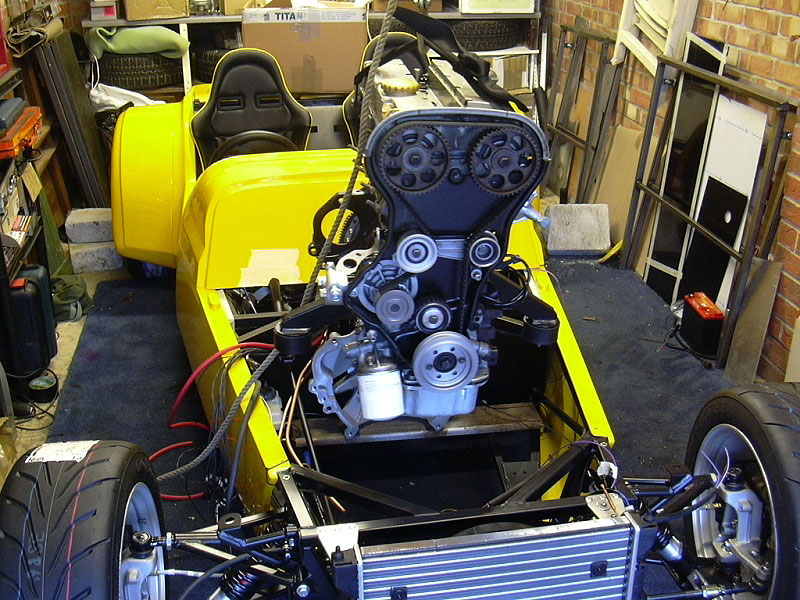
Hoisted engine up with the help of my un-willing helper (MJ) and swung into place. It was very easy to bolt up to the gearbox considering. Marked up some holes for the engine mounting rubbers and drilled before dropping into place. All was going well until I went to put the front ARB back !!!
If you can see on pic 3 & 4, there is no space to fit it. The Arb runs right over the top of the lower crank pulley preventing the fitting of a belt. This means either move the engine back by 2-3" or bin the ARB. I called Westfield and they told me they do a shorter propshaft for this type of installation ............ Communication is a wonderful thing, pity nobody uses it.
I've dropped out the propshaft and moved the engine back now but it also means replacing the Exhaust manifold - See here
(24/02/06)
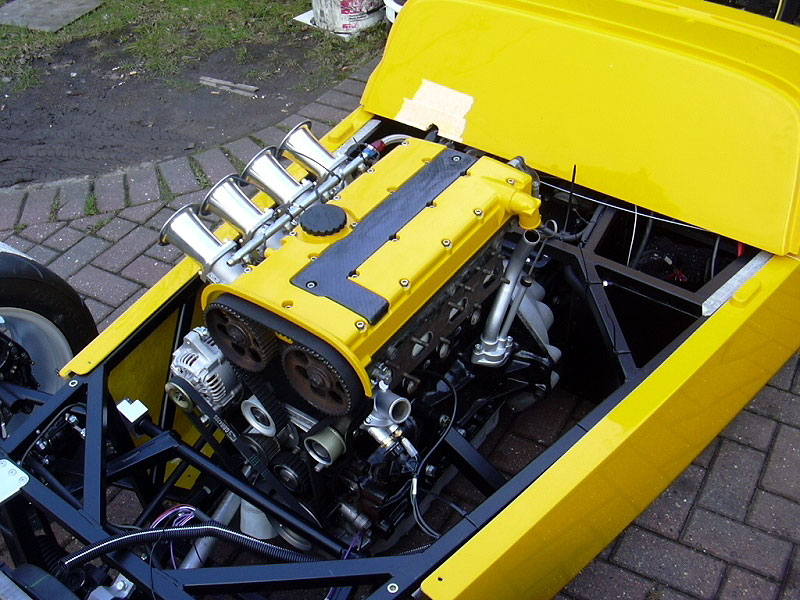
Now that the engine is in, I can get on with so many things.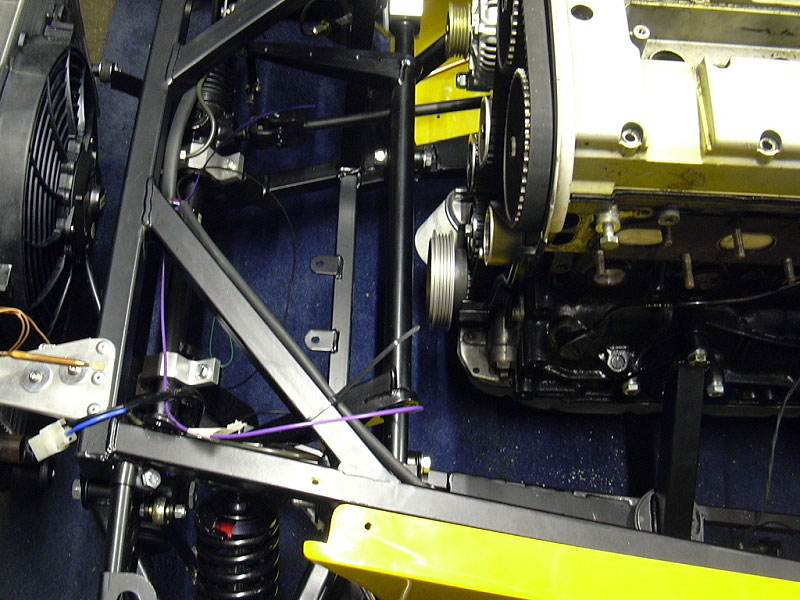
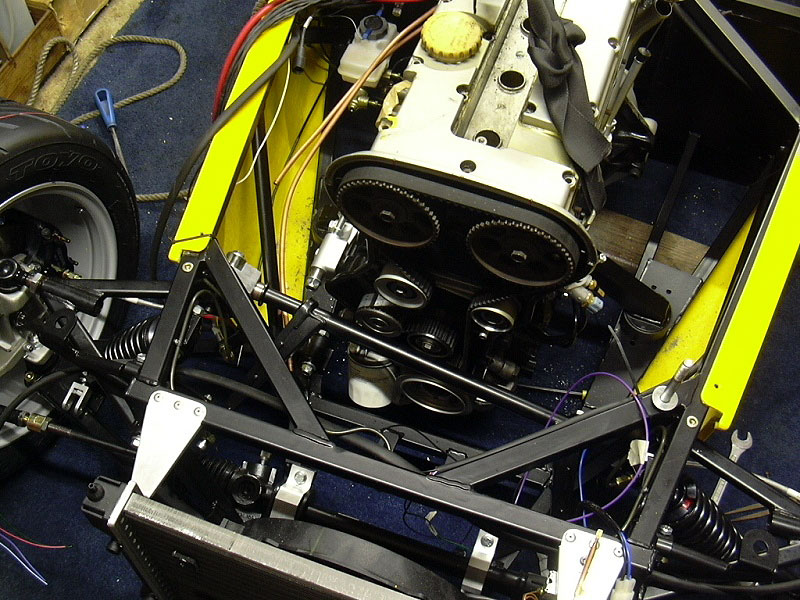
 These pics show the clearance in the engine bay now it's been moved back. In pic 2 you can see the first hole for the engine mounting, Pic 3 shows approx 4" gap between the engine and bulkhead.

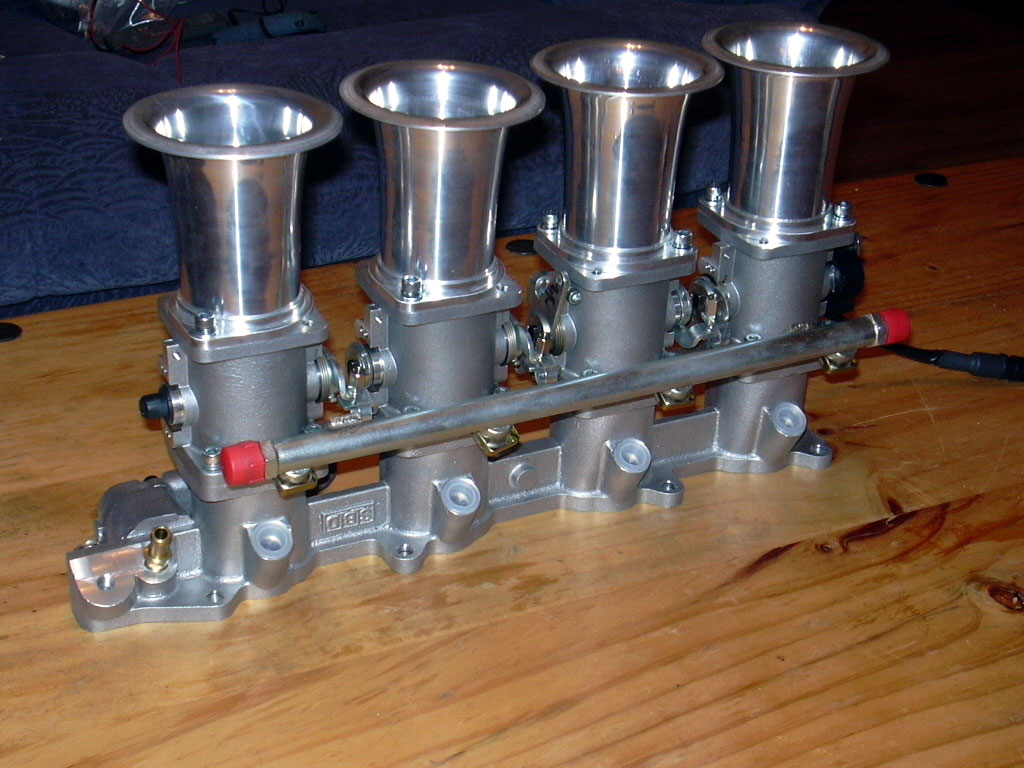
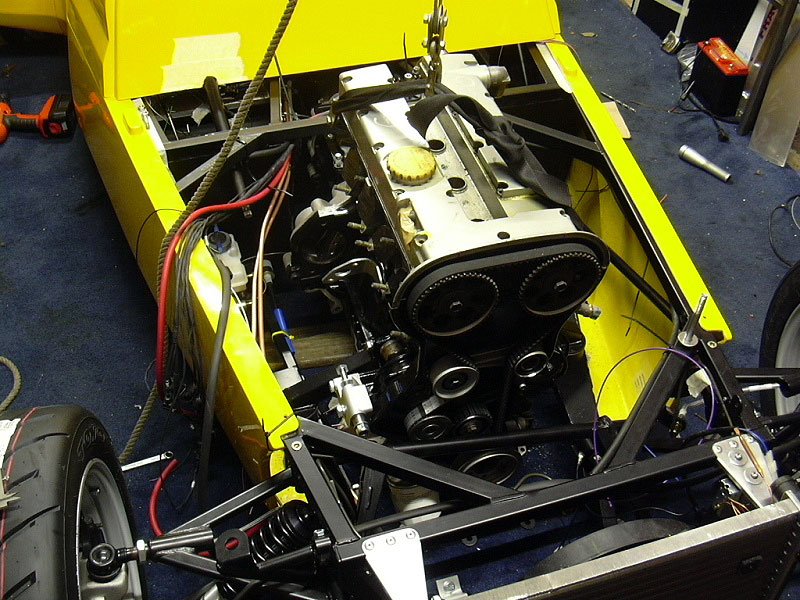
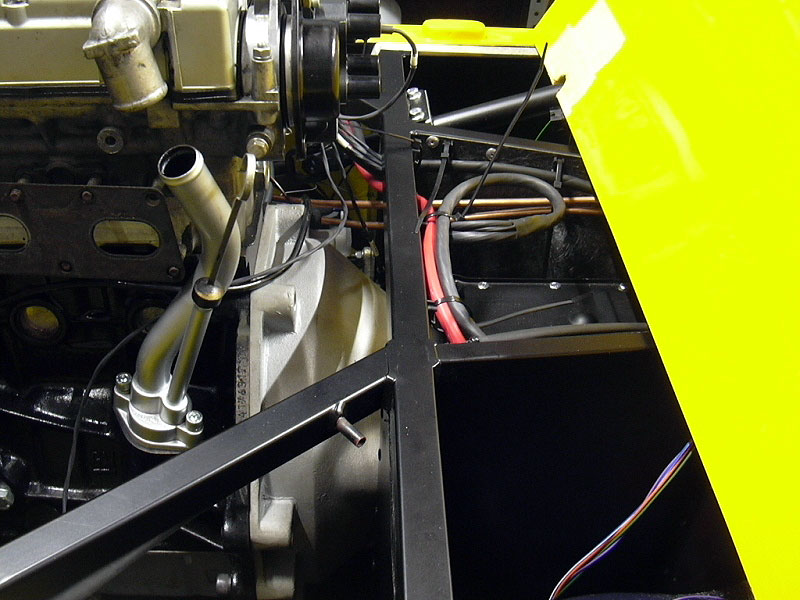
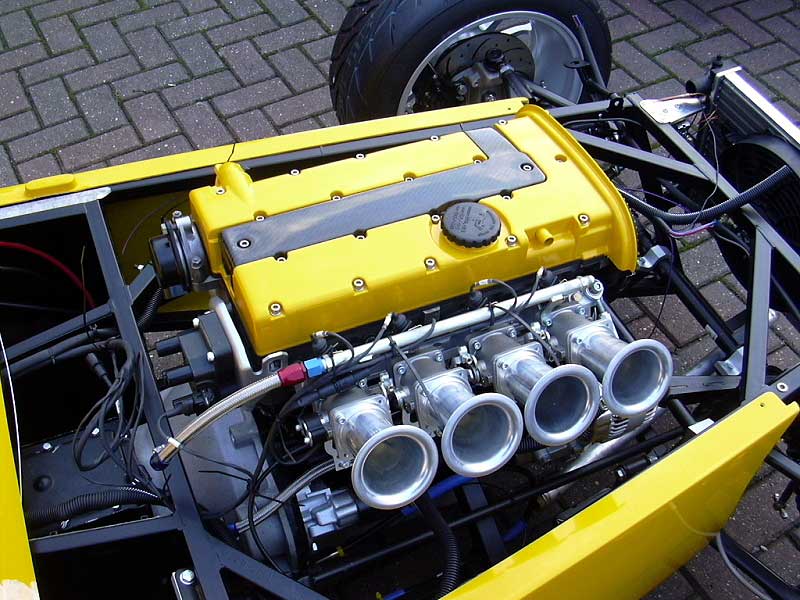
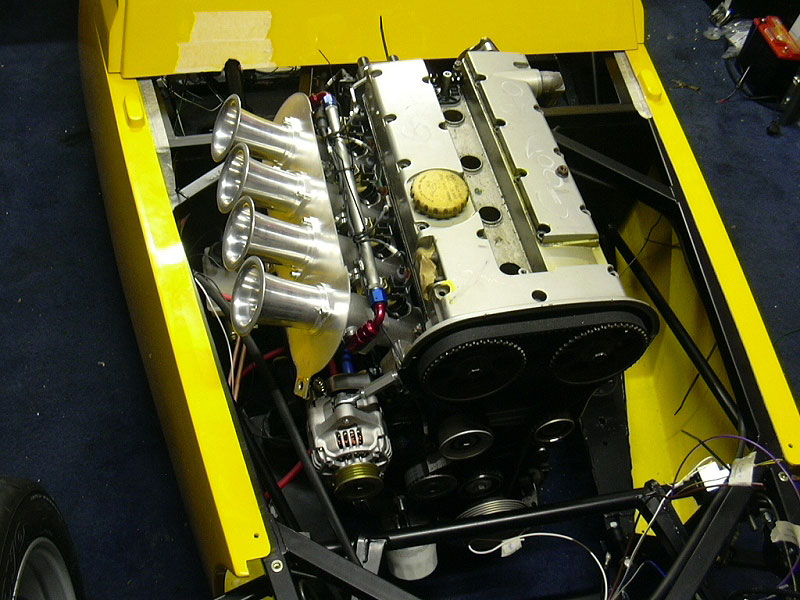 I then fitted the throttle bodies and ran the wiring loom for them to the injectors to see how much cable was available which was plenty.
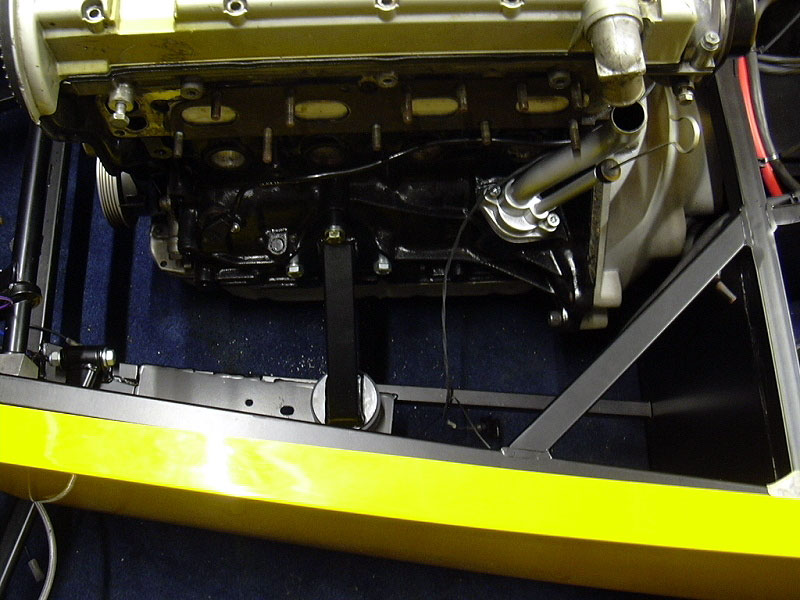
The alternator and Starter were also bolted on and engine to Gearbox bolts fitted and torque'd down. All this was done without the bodywork on as this had to come off again to cut off the back lip to clear the fuel pump.
(04/03/06)
Throttle Linkage has arrived, I decided to fit one of these as it has extra springs which you need for Sprinting (which I hope to do) and also a nice progressive opening action.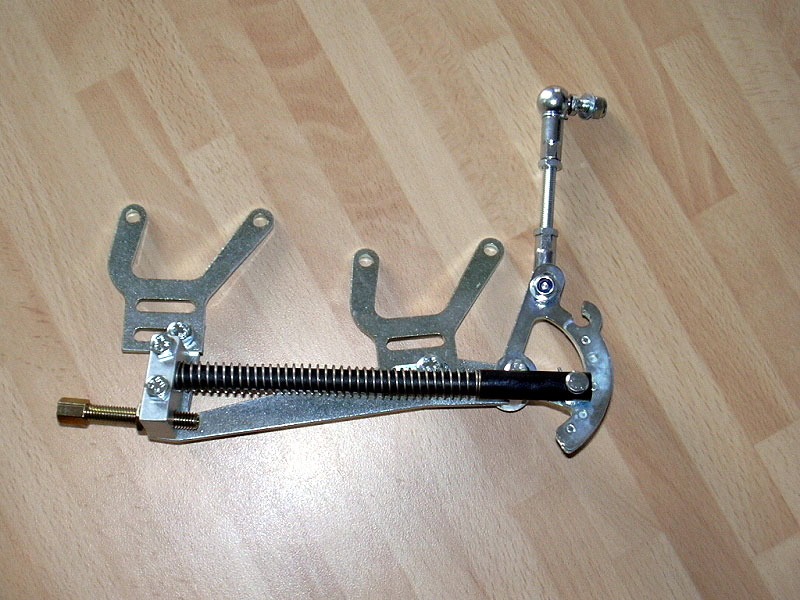
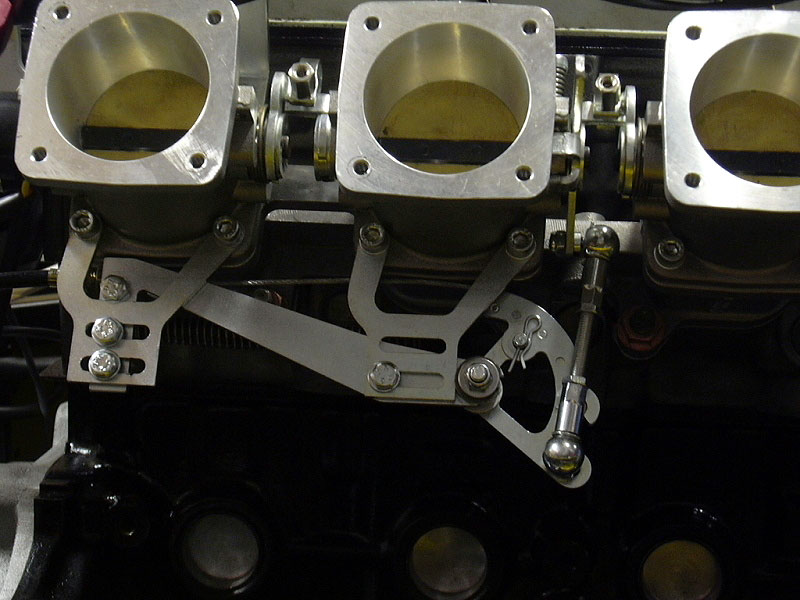 The instruction sheet said to fit it with the mounting bracket in front of the main bracket (1st pic) but due to alignment, I fitted it behind (2nd pic). I also had to slot the holes on left of pic down a bit due to the throttle bodies not fitting flush. Works a treat and looks nice too.
Finally got my cam cover back after the 2nd attempt and it looks much better.

 First thing to do was the SBD mod for the baffle plate. This involved taking out the plate, cutting it down and re-fitting. Pics show the before and after. Ensure you clean the cover out of all silicone sealant as this is the last thing you want blocking up your oil ways.
Anyway, fitted new plugs and the Carbon plug cover and ooooeeerrr it looks fab but that's my view and nobody is going to change my mind :-)
(14/03/06)
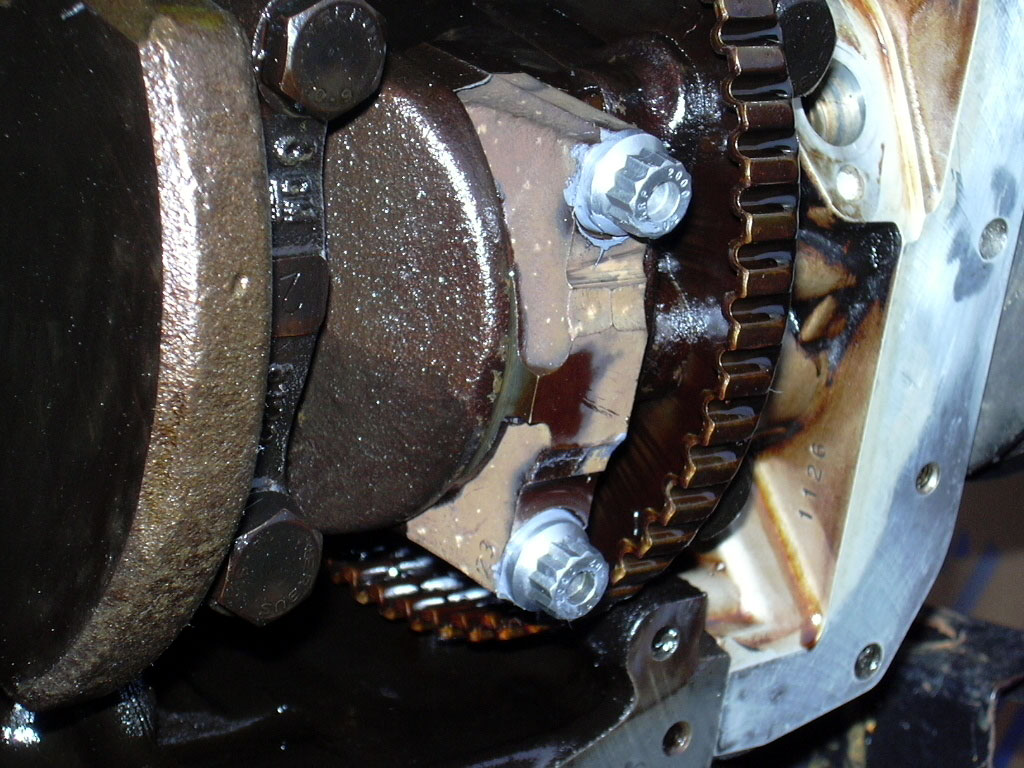
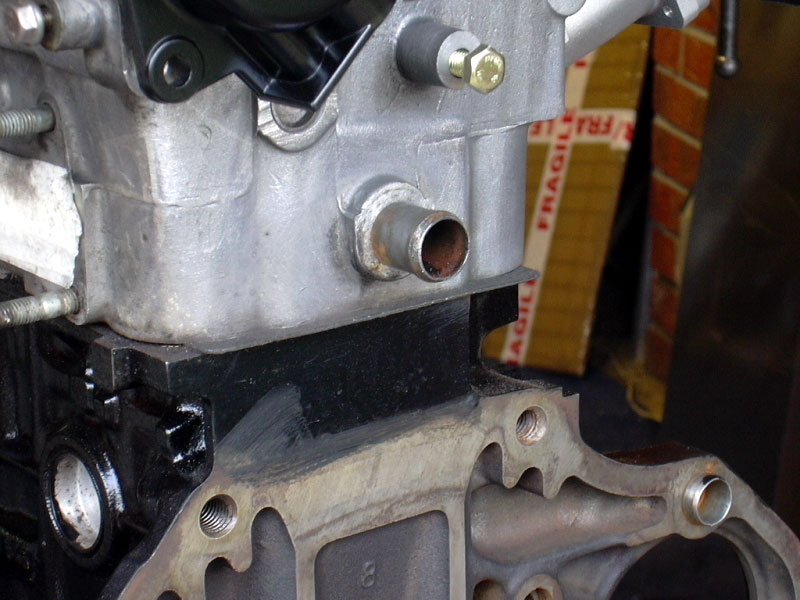
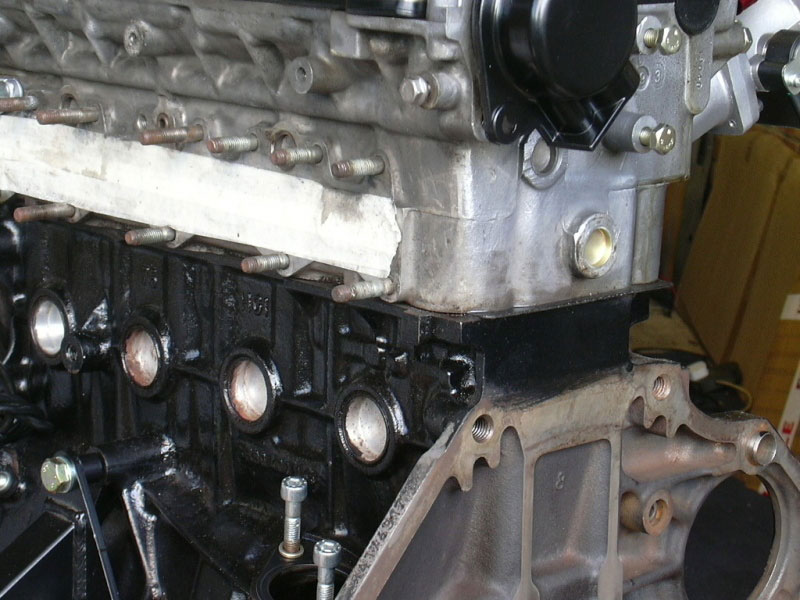
So I could fit the bottom pulley on the end of the crank, I had to cut a bit of the backplate down.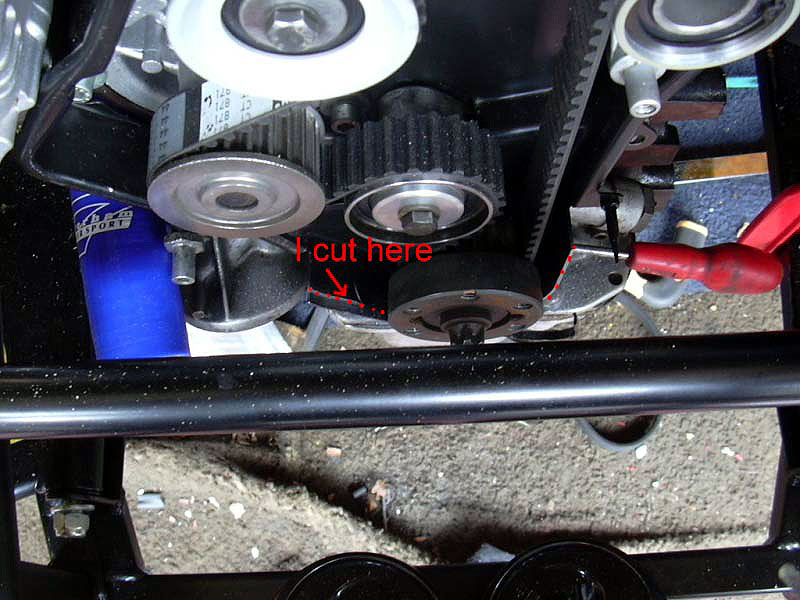
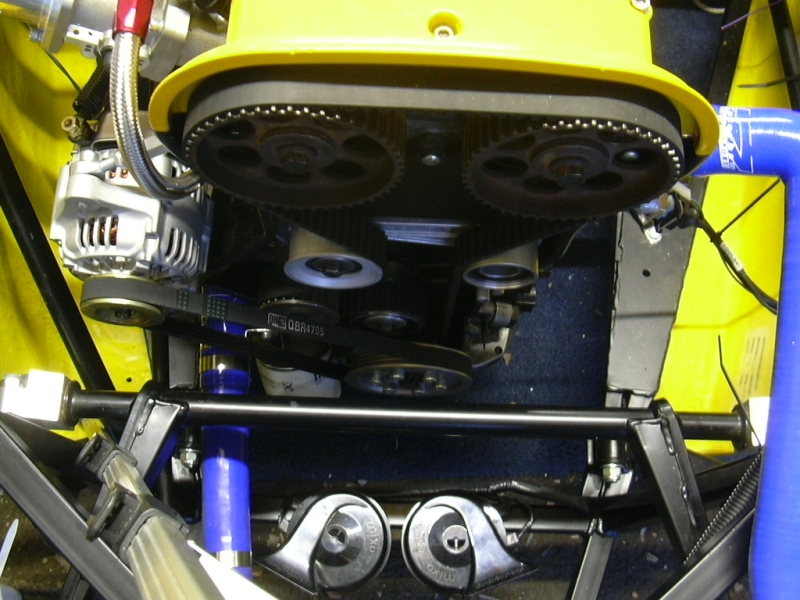 This is the later engine (1993) and it looks like the backplate comes out further than the old ones hence my SBD bottom alloy pulley wouldn't fit. My solution was to cut 5mm from the front edge of the backplate so the pulley would fit better with some clearance.
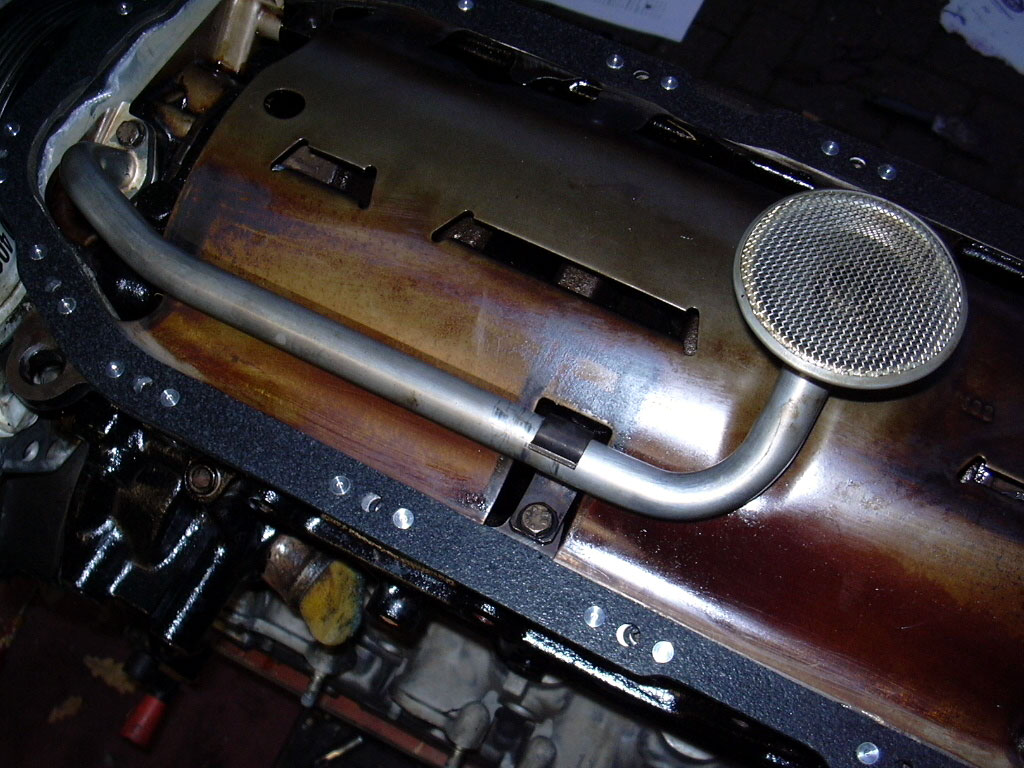
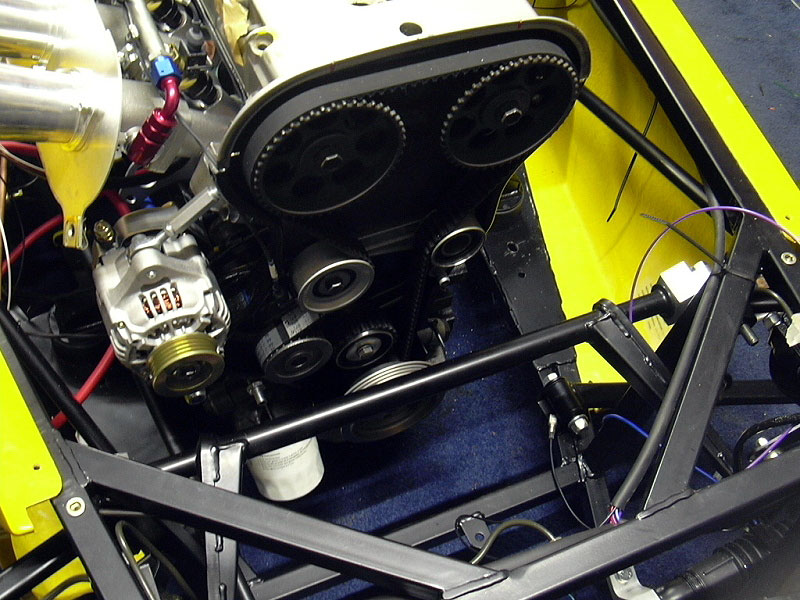
 I've also realised that there is lots of dust being kicked up so I've covered my Throttle bodies and tidied up the wiring a bit. You can see in this picture the mod I've done to the small breather on the cam cover is hardly noticeable.
(04/04/06)
Sweet and simple, got myself a Catch tank from Merlin Motorsport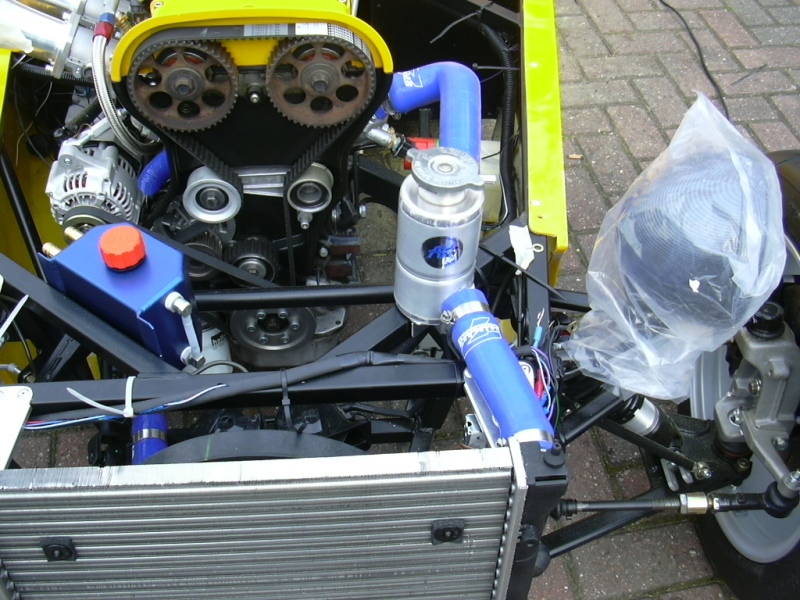 It's one of those Mocal ones that match in with the rest of the colour scheme. I hope to get some Silicone hosing that will fit it and goodness knows what I'll do with the other out/inlet. Two rivnuts later and it's fitted, one of the quicker jobs I've done.
(09/04/06)
I've got the silicone hosing eventually from the kitcar show along with an air filter for it as this tank has two outlets.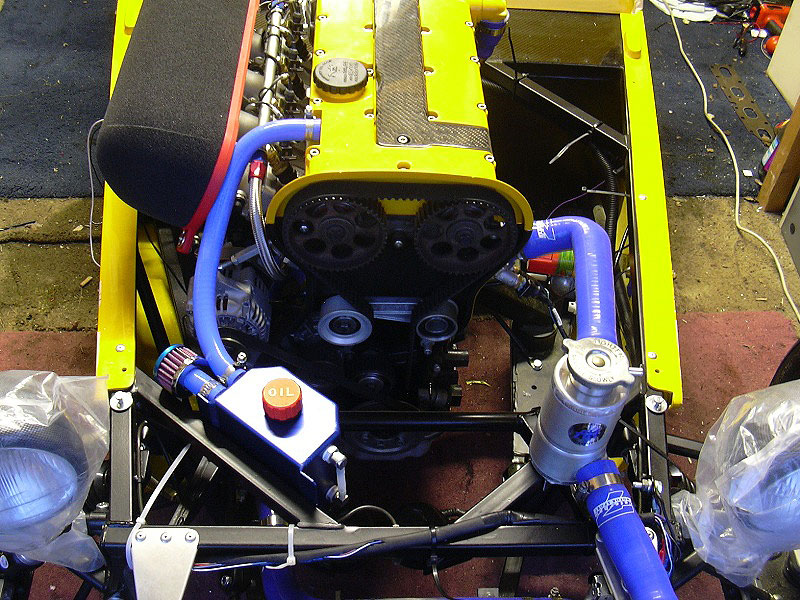
 As I've bolted this to the front diagonal, it enables the breather pipe to flow easily into it from the cam cover. The air filter is one of these generic ones that has an adjustable fitting.